oVioAi Studio
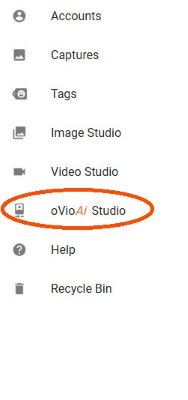
If oVioAi has been enabled for your system, a Tab labeled oVioAi Studio will appear in the left panel as well as an option to Add to oVioAi Studio in drop down menus from the ellipsis in the upper left of Capture thumbnails.
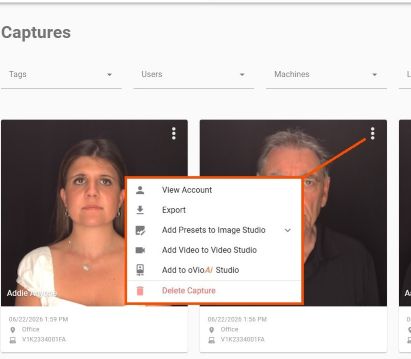
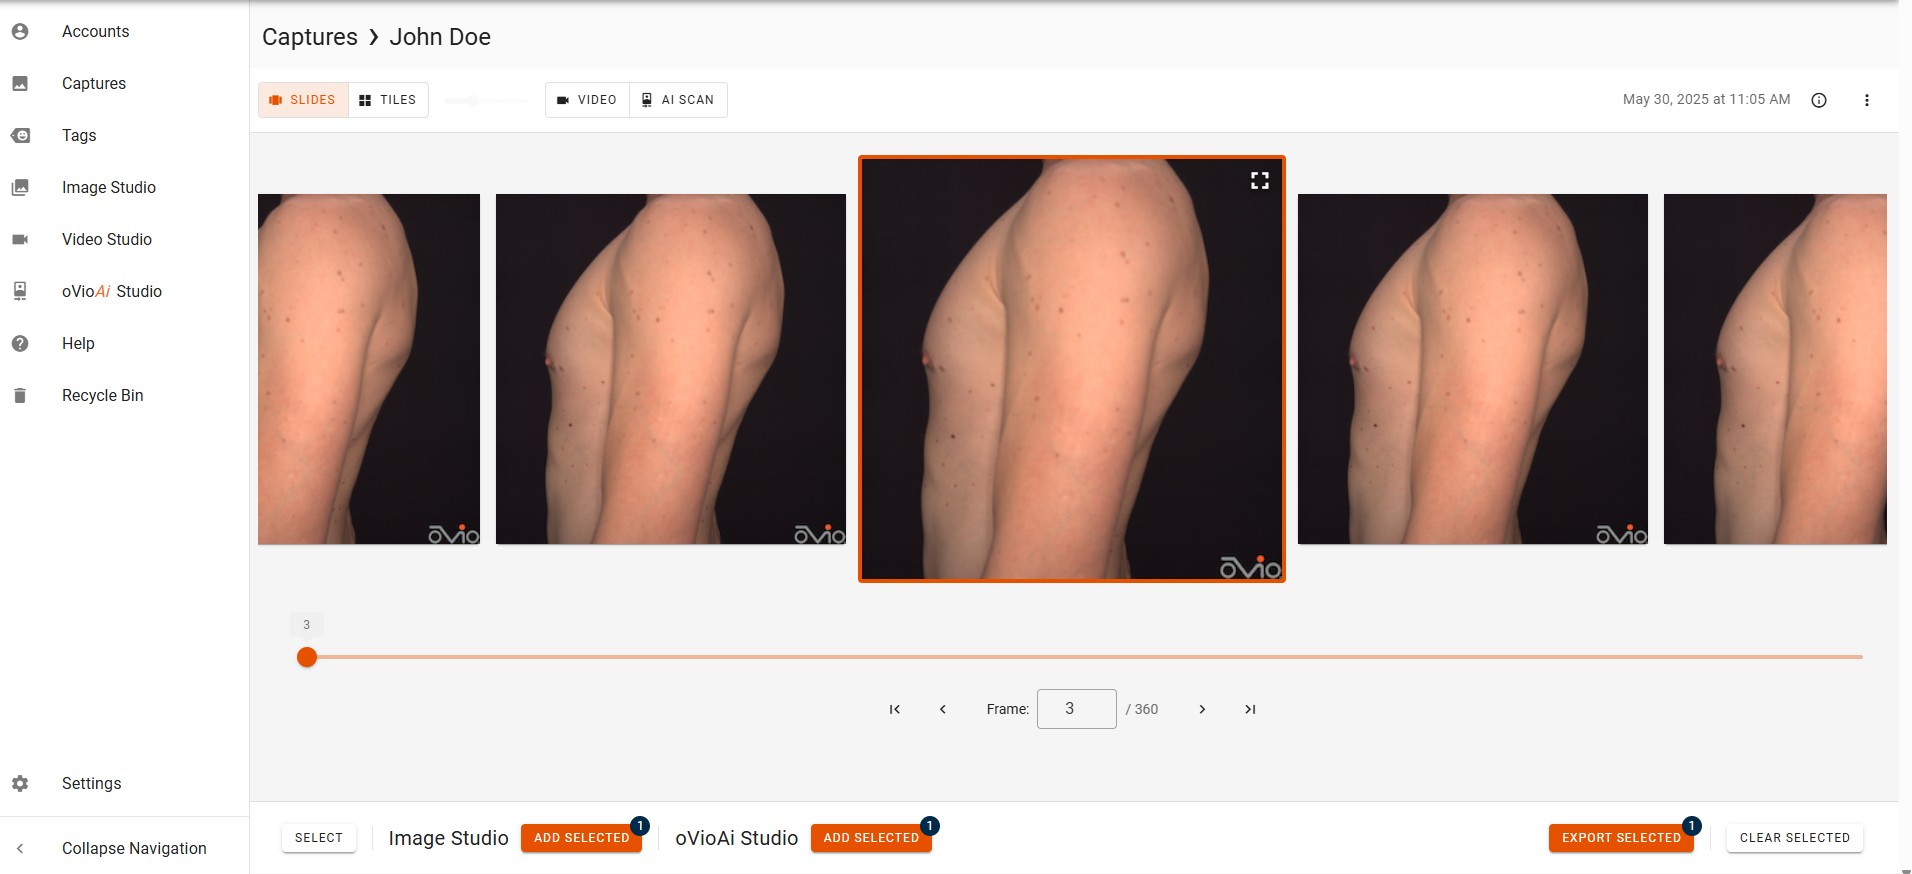
Selecting Add to oVioAi from a Capture ellipsis will add the preset frames designated in settings for oVioAi. Individual still frames can be selected from the Capture Review page to add to oVioAi Studio as well.
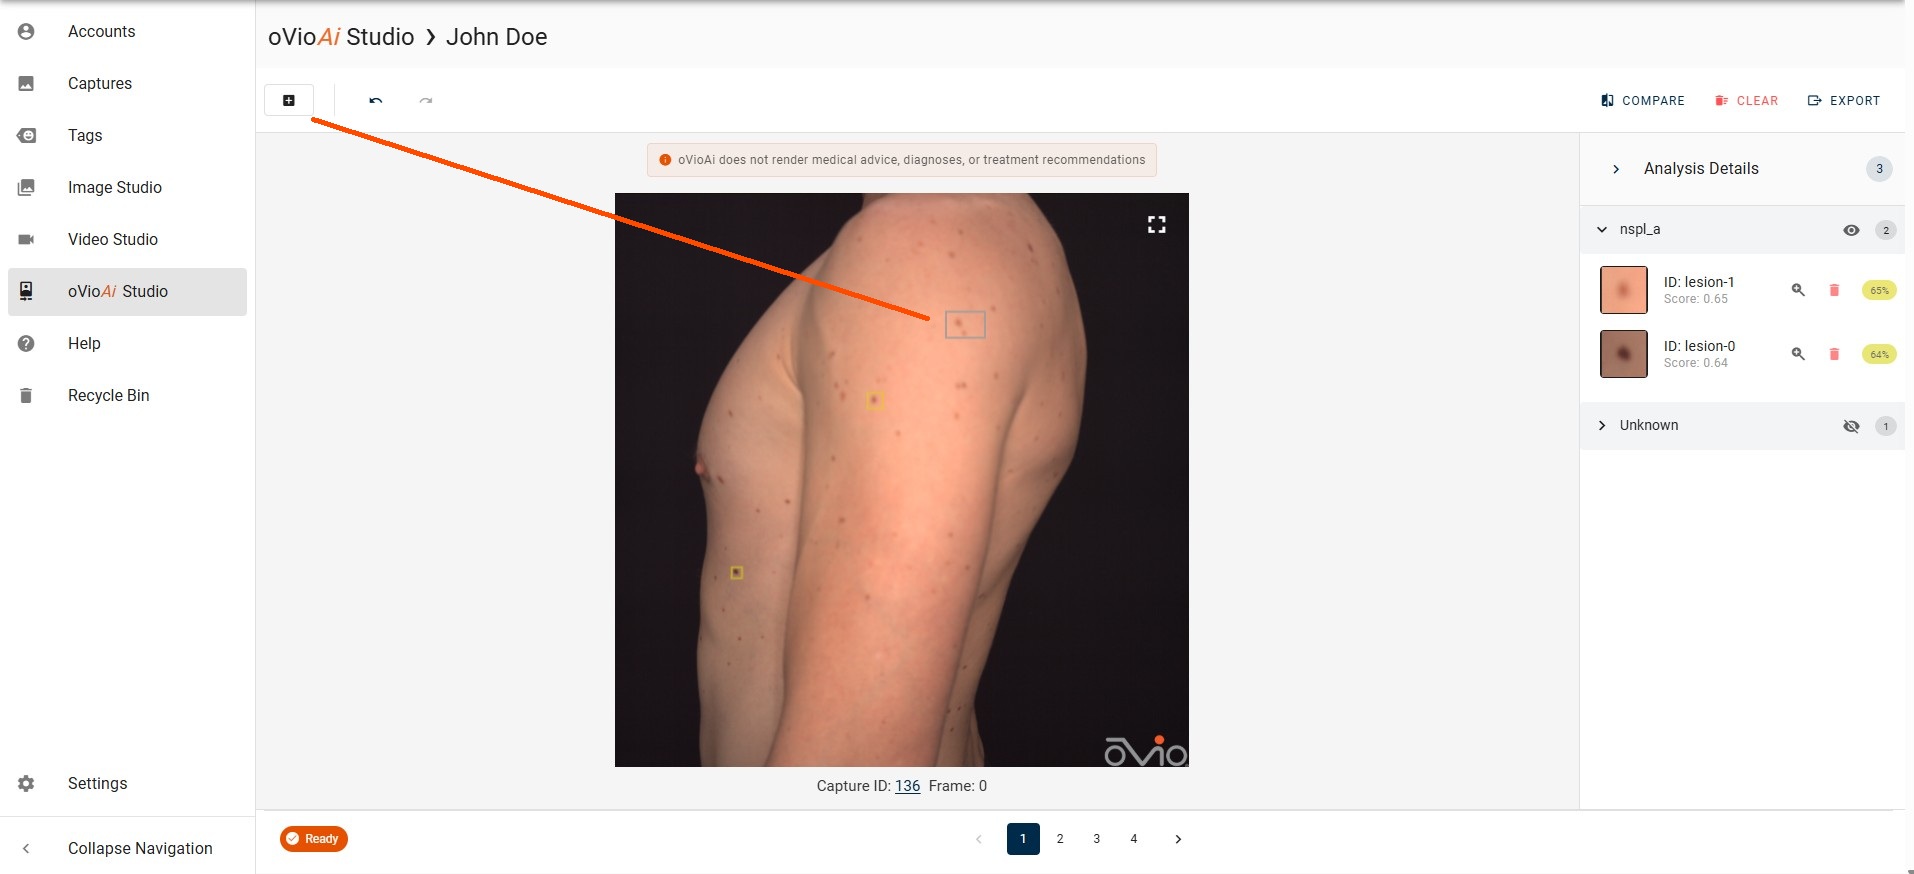
Once either preset frames or individually selected frames are added to oVioAi Studio, user will be redirected to oVioAi Studio where the processing will have automatically started. Once complete, the still frame will appear with highlighted lesions and a Results panel identifying each detected lesion. If the user hovers over the lesion in the Results panel, a box will appear highlighting the lesion in the still frame. If no lesions are detected a message indicating analysis is completed and no lesions were detected will appear in Analysis Details. Each still frame selected for analysis will appear on separate pages in frame order. User can change the Preset Frames for oVioAi in Settings>Preset Frame Profiles.
At the top left of the page is a plus icon to select an individual lesion for analysis. User should click on the plus sign then draw a box around the desired lesion. As soon as the area is outlined from drawing, a blue box will appear while the lesion is being analyzed after which the lesion with its score will appear in the Analysis Details side bar. The undo feature will remove the selected lesions in the order they were added for analysis until the User leaves or refreshes the page. Lesions added for analysis will be saved to the original Ai Scan after leaving the Ai Studio.
oVioAi Projects
oVioAi Projects are automatically saved to the individuals Account Page and can be reviewed at anytime by clicking on the Project. Projects can also be exported from either the oVioAi Studio directly or by opening the Project from the individual's Account Page, then clicking on the Export icon. The default location for export files is the download folder of users browser. Exports can be renamed by user at time of export. Images are exported in a zip folder containing the main still image and separate images for each detected lesion, along with a PDF detailing results for each page of a Project.
Adding Additional Frames to Projects
If User selects the hyperlink for the Capture ID which can be found below the image it will take the User back to Capture Review where they can frame by frame select additional images for analysis with the existing project.
Side by Side Comparisons
Users may review two separate Ai Projects from the same Account from the oVioAi Studio after running a scan or viewing a previous scan by selecting from the Ai Projects on the Account Page. The comparison tool can be found to the top right of the page. After clicking on the tool, a display of available Projects will appear for User to select the comparison Project.
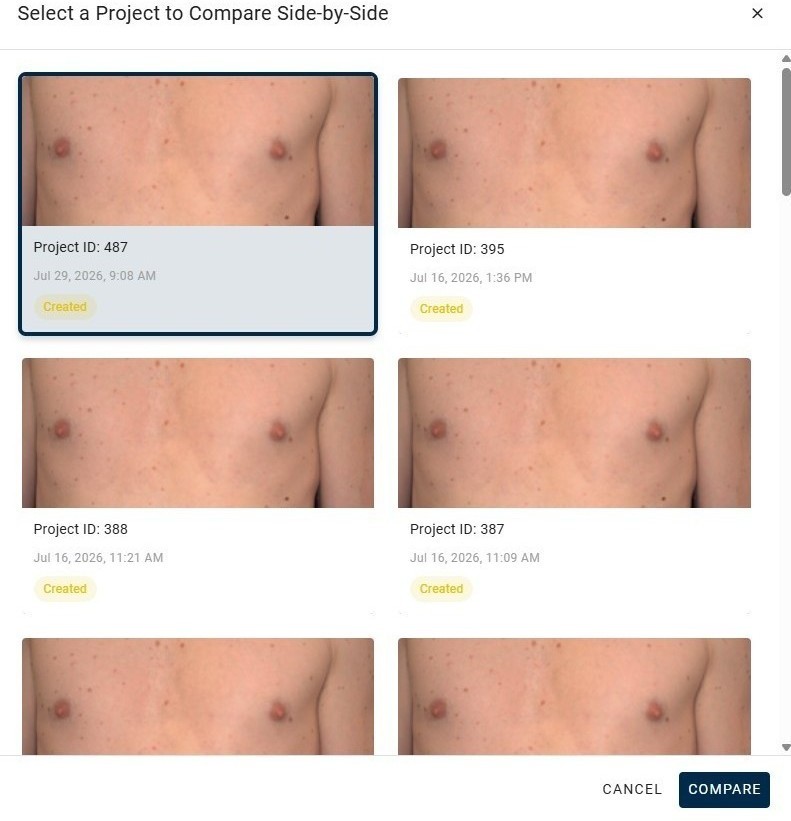
The side by side comparison will appear after clicking Compare. The comparison project (second project selected) can be changed by clicking on Clear Comparison at the bottom right and then clicking on Compare again to select a different comparison project.
oVioAi Exports
A single oVioAi Project or a Side by Side Comparison maybe exported by clicking on the Export button at the top right. Custom file naming is available at export. The project downloads to the default location in the Users browser as a zip file containing the main image and individual images of each mole as well as a PDF report.
oVioAi Settings
Customizable settings for Sensitivity and Overlap Threshold can be found by the Organization Administrator in the Settings tab on the left of Workshop. Sensitivity values are structured with a lower value detecting more lesions but with possible inclusion of false positives. The Overlap Threshold controls how close detections must be to be considered as the same lesion, with a lower number being closer together. See Settings.