Capture Review
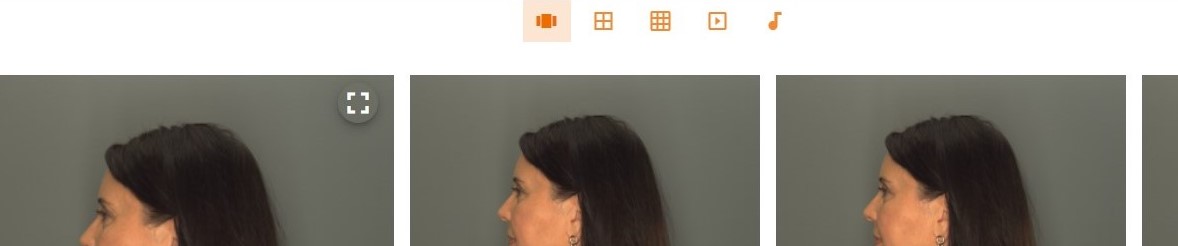
Clicking on the thumbnail of any Capture on either the Captures Pages or Account Page will open the Capture Review Page, where the User can view all the stills in a gallery, small or large grid or play the Video by clicking on the desired icon above the image display. Individual images may be selected in any of the viewing options for additional processing in the Image Studio or Video Studio as described in those sections of this Guide. User may navigate to the main Account page by clicking on Account above the images.
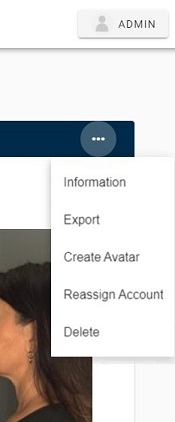
The ellipsis in the upper right corner contains a drop-down menu of additional Capture options. User can view the Capture information, Export the full image file (all stills and video), create an Avatar, Reassign the Account, or delete the Capture. Export of the full file will be in a zip format and the default save location is the download folder of the browser for a local installation. For customers with a cloud account, an email will be sent with a link to download the Export.
Capture Information
Clicking on the "i" in the top blue bar of the Capture Review will display the Capture Information and settings for the currently displayed Capture such as Tags associated with the Capture, ID number, Account name, location Capture was taken,time of Capture, User that created the Capture, and more. The Camera tabs contains information such as Exposure Settings, Camera Height, White Balance, and more. Tags can be added, edited or deleted in this window.
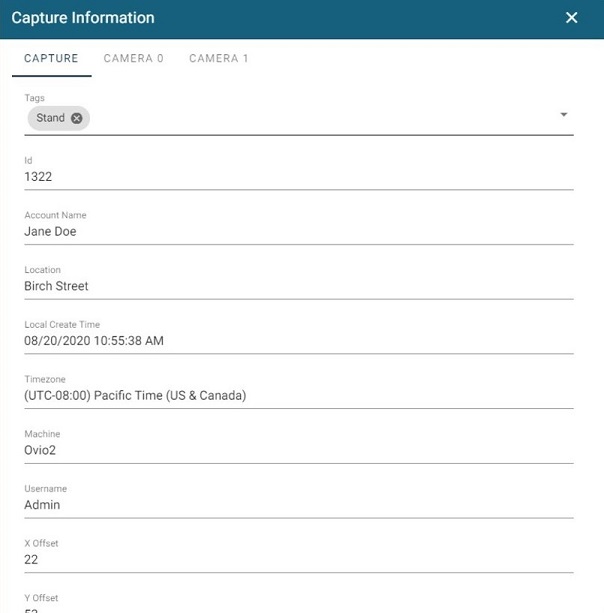
Image Review
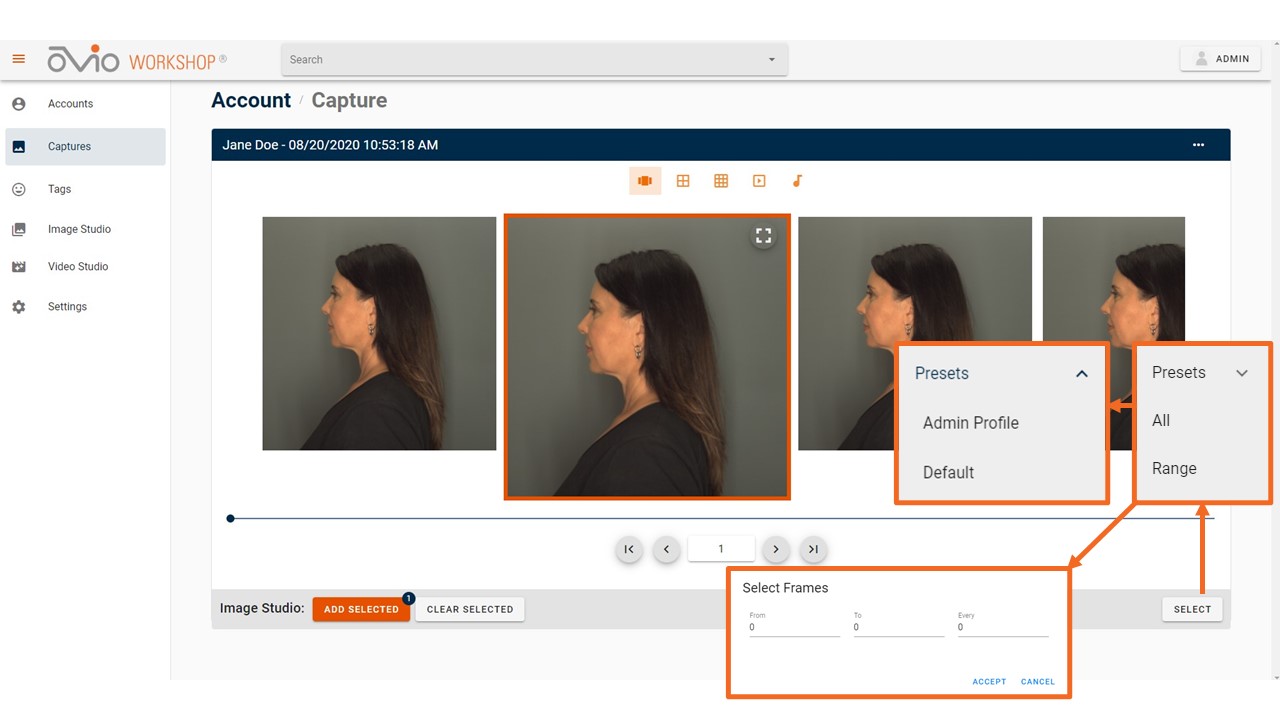
The Images tab allows the User to view all frames of the Capture. The User can view the pictures in the default optional gallery format, or in a small or large grid format. To select frames, the User can either use the arrows or type in a value in the box at the bottom of the page, click on the image(s) desired and click on Add Selected. Individual images can also be viewed in full screen mode. Images may also be selected by scrolling to the bottom of the page to access the selection tool as shown in the photo below.
Audio Review
If the capture contains an audio file, an “Audio” will appear above the images on the Capture Review Page. The User can click on the “Audio” icon then click on the play button to play the audio. User can navigate back to the main Capture Review Page by clicking on any of the image icons.

Video Review
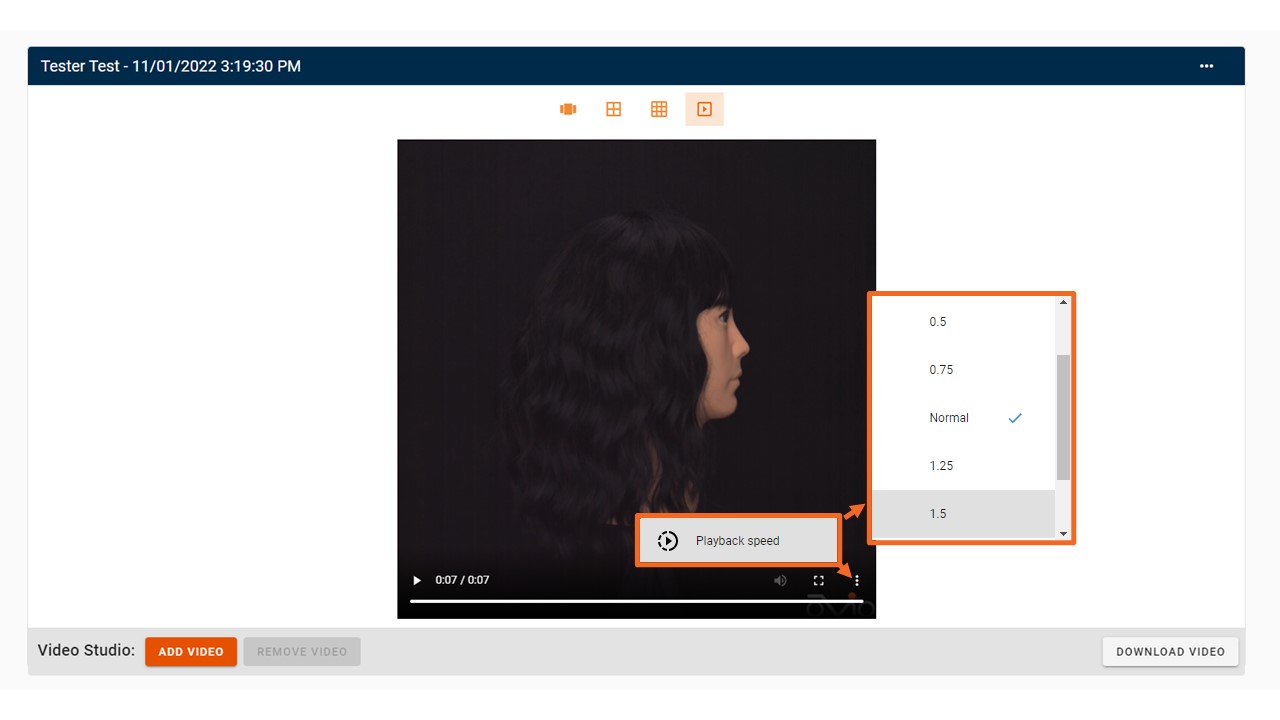
Clicking on the Video icon above the images will open the Video Player. The Video Player can be stopped and restarted at any time by clicking on the arrow located at the bottom left of the Video Window. The Player can also be scrubbed by dragging the mouse along the progress line. User can select to add the Video to the Video Studio or download the Video from this page. The Video will save to the download folder of the browser.
Additional viewing options at bottom right of the player can be accessed by clicking on the full screen mode icon or the ellipsis at far right will present a range of speed options.
Creating Avatar
After clicking "Create Avatar" from the drop-down menu a message will display, "Avatar is being created, please check back in a minute".
After the appropriate time has passed, an avatar icon ![]() will appear in the top bar. Click on this icon to view the 3D avatar.
will appear in the top bar. Click on this icon to view the 3D avatar.
To export an Avatar, click on the "EXPORT MODEL" button and a downloadable zip file will appear on the User's screen.
![]()
Reassign Capture
To reassign a capture to another account, the User can do the following:
- Know the name of the desired account for the misplaced Capture.
- Click on the "Workshop" tab at the top then click on the "Captures" tab on the left-hand side.
- Click on the Capture that the User would like to reassign.
- Click on the ellipsis located at the top right corner. Select "Reassign Account" then Click "Select New Account".
- Type or click on desired account name.
- A confirmation notification that reads "Capture has been assigned to a new Account"
Delete Capture
User can delete a Capture by selecting the "Delete" function in the drop down menu shown at the top of this section. Please note that it is not possible to delete a Capture that has Image Studio or Video Studio Projects associated with it.